AutoReplyEasy User
This page explains how to install and configure an AutoReplyEasy user for SMS messaging using the graphical user interface of the Ozeki NG - SMS Gateway software.
Ozeki NG - SMS Gateway supports the installation and configuration of an AutoReplyEasy user (among several other users and applications, see the Users and Applications page).
The AutoReplyEasy user allows you to automatically reply to incoming messages, sending a reply message to the sender phone number of the incoming message.
This feature makes the AutoReplyEasy user similar to the Autoreply User. However, there are some differences between them.
The Autoreply user allows you to reply to and forward incoming messages to various phone numbers, based on the sender address and the message content. The AutoReplyEasy user, however, only allows you to automatically send a reply message to the sender phone number of the recipient message. The reply can be a plain text or a WAPPUSH SMS. A WAPPUSH SMS is basically a specially encoded message which includes a link to a WAP or webpage address.
Unlike the Autoreply user, the AutoReplyEasy user does not require you to edit rules following a rule syntax in the autoreply script file. Instead of having to set rules in the script file, you only have to edit your reply message. (This is the reason for the distinction "Easy" in its name.)
The reply message can contain the following special keywords. These keywords will be replaced to the appropriate content in the message text before the reply message is sent.
| $MSG | The incoming message text |
| $SENDER | The originator number |
| $RECEIVER | The recipient number |
You can use the graphical user interface of Ozeki NG - SMS Gateway to install and configure an AutoReplyEasy user.
Installation
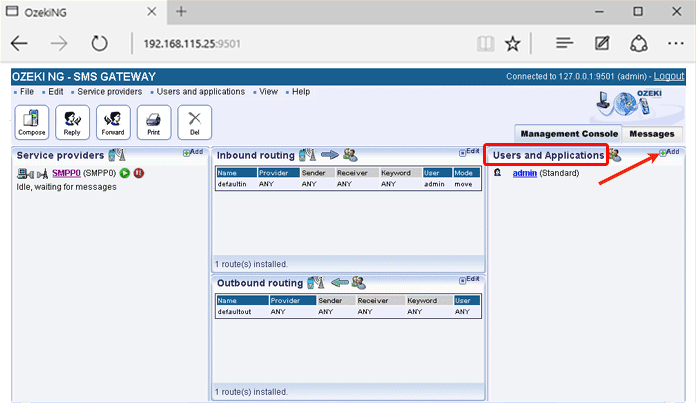
To start installing and configuring an AutoReplyEasy user, click the Add button in the top right-hand corner of the Users and Applications panel on the right of the Management Console. You can also add a user by clicking the Add user item in the Users and applications menu (Figure 1).
This will bring up an interface consisting of two panels.
- The panel on the left contains a list of users that have been installed. In the bar at the bottom of the panel you can read how many users have been installed.
- The panel on the right contains a list of users that can be installed.
- Each user in the left-hand panel is listed with a unique name (and the user type stated in brackets).
- Each user in the right-hand panel is listed with the name of its type and a brief description of what it can be used for.
To start installing an AutoReplyEasy user, click the Install link in the respective entry in the list (Figure 2).
When installing a user (type), you need to give it a unique username. Clicking the Install link will bring up the AutoReplyEasy user installation panel. Here, you need to enter a unique username in the Username field.
Configuration
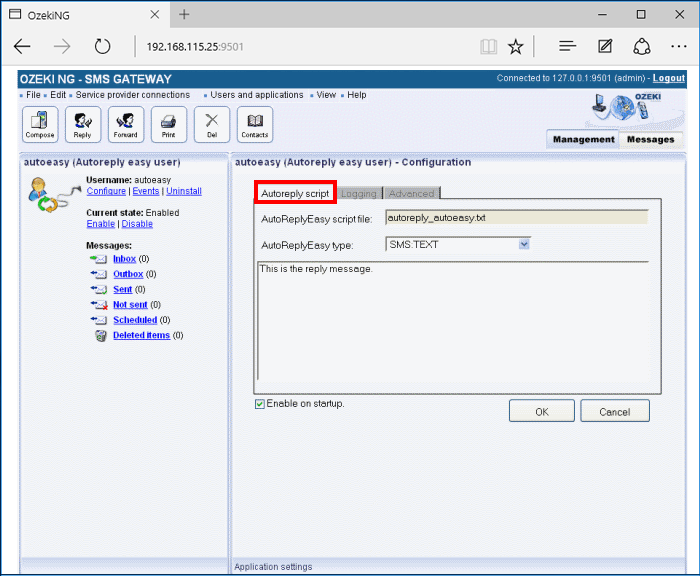
The Autoreply script tab of the Configuration panel will show up after you have specified a unique username for the AutoReplyEasy user (Figure 3).
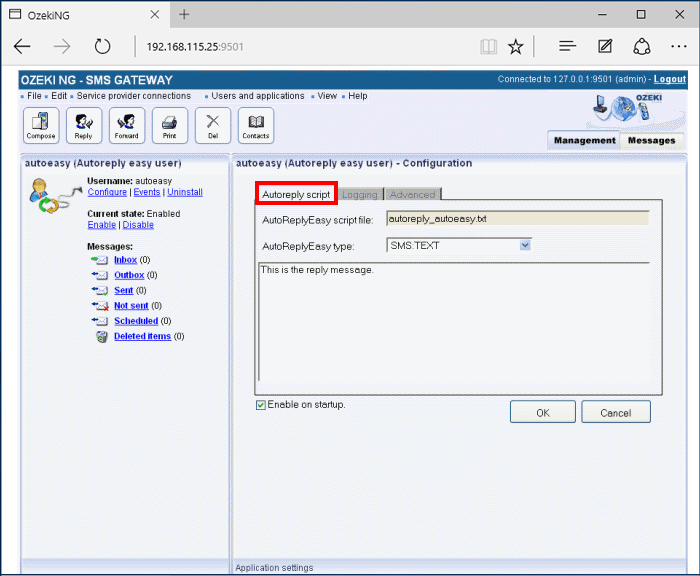
This tab contains an uneditable text box, a dropdown menu, and an editable text box.
The uneditable text box is for the name of the AutoReplyEasy script file. This file name, which includes the unique name you have specified for your AutoReplyEasy user during the installation, is provided by the program. In the AutoReplyEasy type dropdown menu, you can select the type of your reply message. In the editable text box below, you can simply edit your reply message.
To configure logging related to the AutoReplyEasy user, click the Logging tab in the Configuration panel.
The tab has a Logging and a Log file settings section. Here, you can choose whether to make the program write log entries about sent and received messages in human readable format and/or log SMS messaging related to rules that have been applied. You should check one or both of the checkboxes, as logfiles can be useful in debugging communication problems (Figure 4).
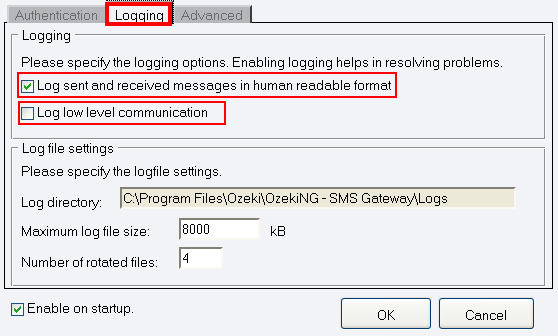
In the Log file settings section of the tab, you can make specifications for the size and the number of available logfiles. Log rotation saves disk space, as it ensures that older (and probably no longer needed) logfiles will be automatically deleted from the log directory, which is specified in the Log directory text box. By default, the access path to the logfiles is: C:\Program Files\Ozeki\OzekiNG - SMS Gateway\Logs
In the Maximum log file size text box in the Logfile settings section, you can specify the maximum size of a logfile. Once this size is reached, a new logfile will be created. Specify the number of kilobytes for the size of a logfile by entering a positive whole number. By default, the maximum logfile size is 8000 kB.
In the Number of rotated files text box, specify the maximum number of rotated logfiles that are saved. Specify this number by entering a positive whole number. By default, the number of logfiles that are saved is 4 (see Figure 4 above).
If you are content with the default specifications, leave the text boxes unchanged.
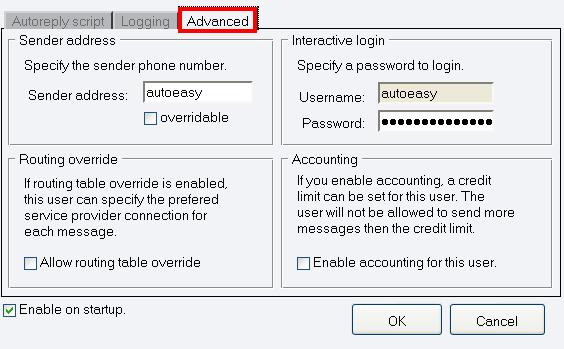
In Advanced tab you can specify the phone number of the sender, and you can provide a username and a password to login. In the lower section of this tab you can enable Allow routing table override option. If routing table override is enabled, this user can specify the preferred service provider connection for each message. You can also enable accounting for this user option. If you enable accounting, a credit limit can be set for this user. The user will not be allowed to send more messages than the credit limit.
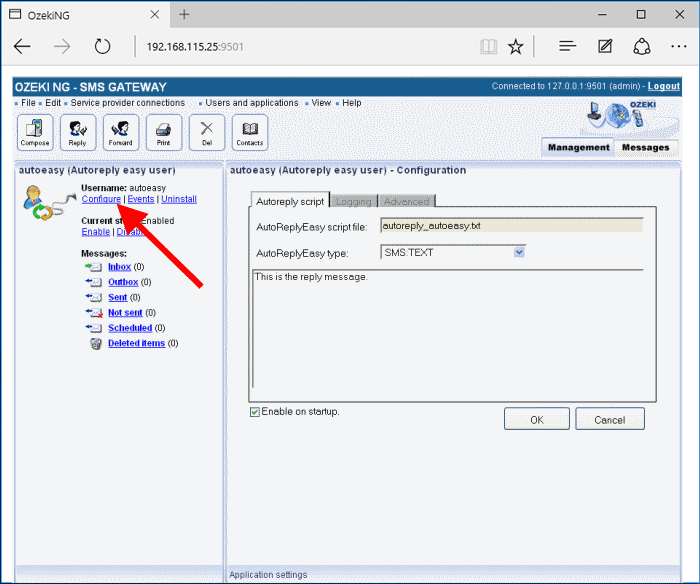
To modify the configuration or to view server events related to an installed user, open the panel of the user's account. To do this, click the name of the user in the Users and Applications panel of the Management Console. In the panel of the user's account, click on the link of the task you wish to perform (Figure 6).
