SMS newsgroup / SMS opt-in list
In this example we show you how to setup an SMS newsgroup. An SMS newsgroup is an opt-in list. In this example, people can join the list by sending in the word "join" in an SMS message and can leave the list by sending in the word "leave". If somebody sends in an SMS message starting with the keyword "news", all the members of the list will receive the SMS.
Preparation
To create an SMS news group you need to attach a GSM modem or GSM phone to your computer with a phone to PC data cable. The next step is to download Ozeki NG SMS Gateway and to install it. Installation is similar to the Installation of any windows application. Ozeki NG SMS Gateway will control your GSM modem and will make it possible to create an SMS news group. After Ozeki NG has been installed, the GSM modem you have attached to your computer with a data cable should be setup. The SMS Quick Start Guide explains how this can be done. The final step is to test the functionality of your system, by sending and receiving a test message.
Overview
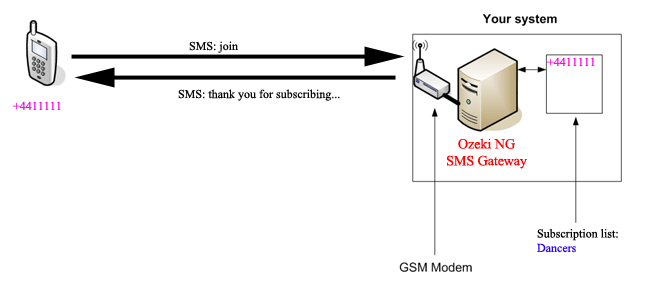
The SMS newsgroup we are going to create will work the following way: The first user with phone number +4411111 subscribes to the list by sending in the work "join". The system will automatically respond with a reply message (Figure 1).
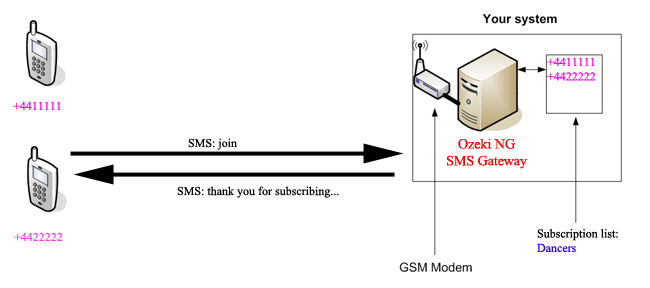
The second user with phone number +4422222 subscribes to the list the same way (Figure 2).
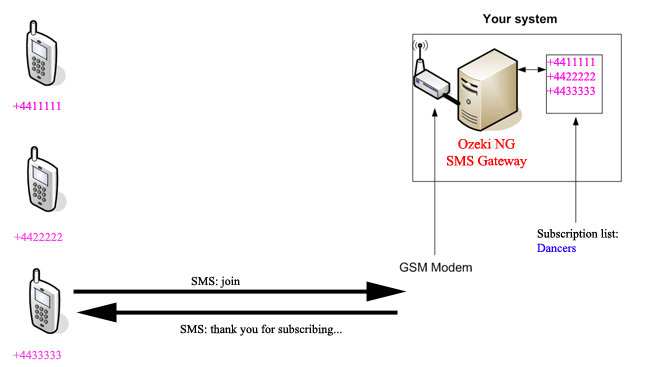
The third user with phone number +4433333 subscribes to the list the same way ( Figure 3).
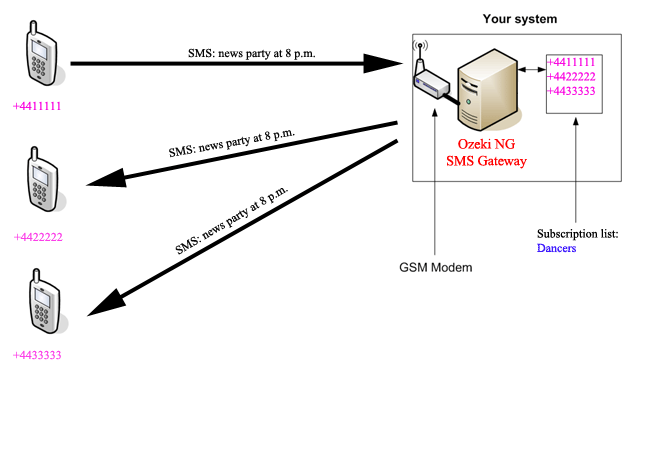
After everybody is subscribed, the first user with phone number +4411111 sends a message to the list. The message is broadcasted because it starts with the keyword "news". This means the the second user with number +4422222 and the third user with number +4433333 will receive a copy of the message (Figure 4).
How to configure
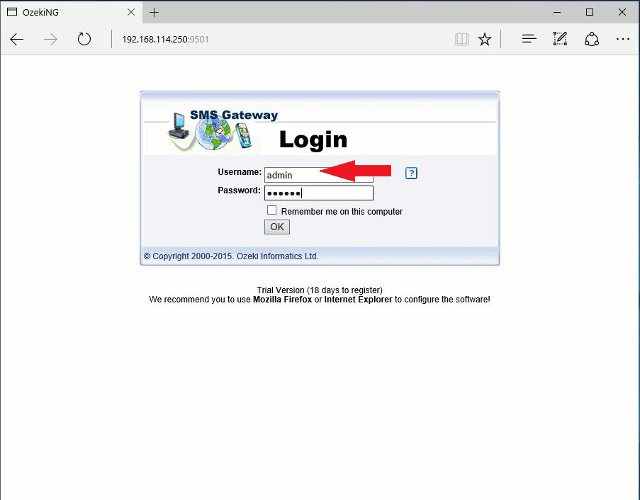
The configuration steps to create this solution are simple. You have to log into Ozeki NG SMS gateway as administrator (Figure 5). The default username and password is admin/abc123).
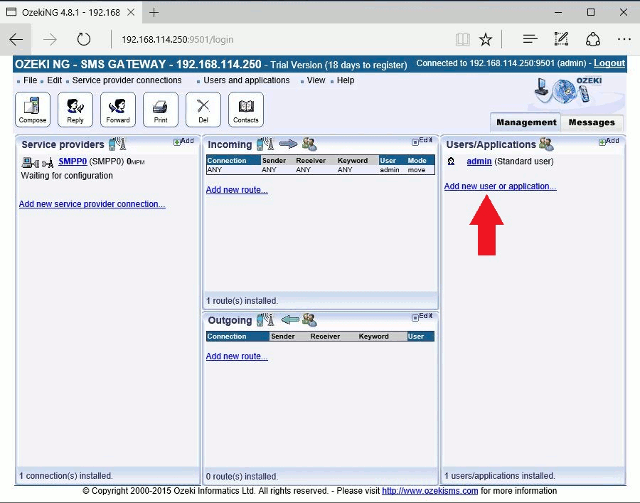
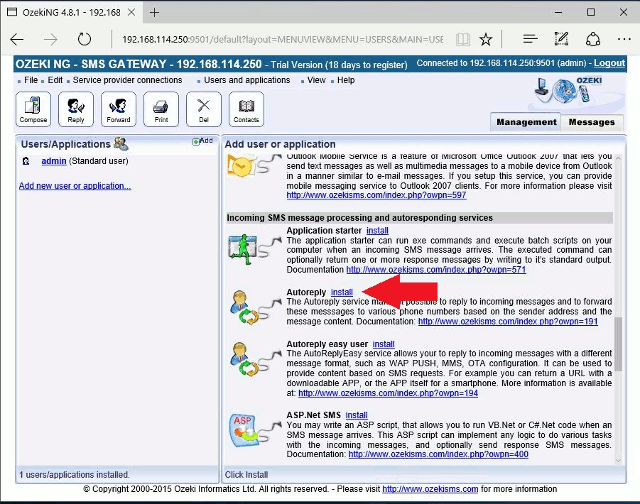
Then you have to add an autoreply user. This can be done by clicking on the "Add new user link" (Figure 6), and clicking on "install" in the Add user or Application list (Figure 7).
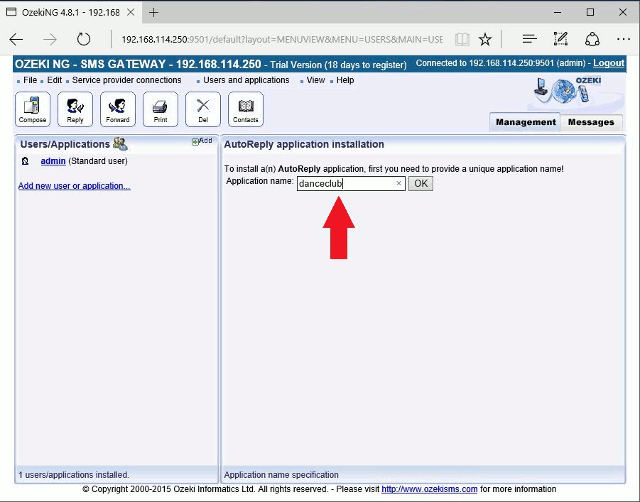
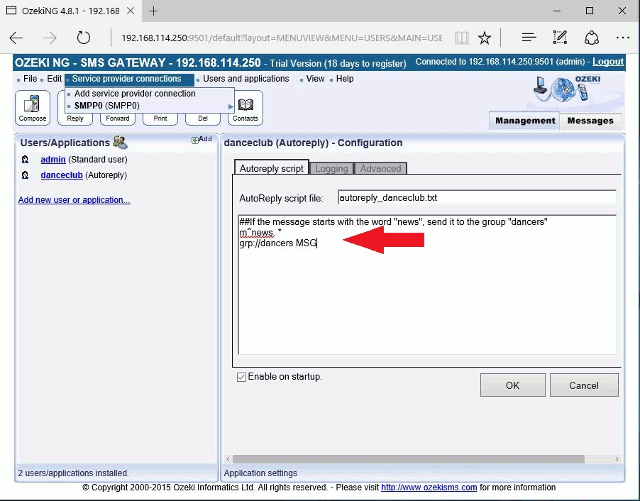
Once the Autoreply user is added, you need to configure it. During the configuration first you have to add a unique name, such as "danceclub" (Figure 8). The next step is to create a script that will send all messages that start with the word "news" to the members of the group called "dancers" (Figure 9).
Here is the script:
m^news.*
grp://dancers MSG
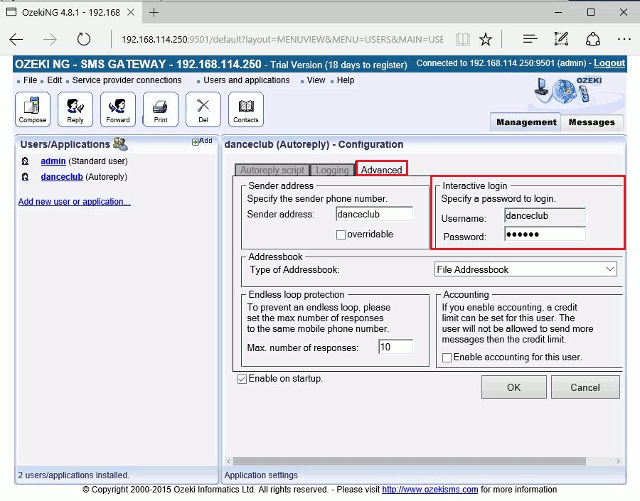
The script is very simple. It contains two lines. The first line matches the keyword in them message, the second line will forward the message text to the group called "dancers". Note that the dancers group does not exist at this point. It will be created in the next steps. Finally you need to enter a password for interactive login (Figure 10).
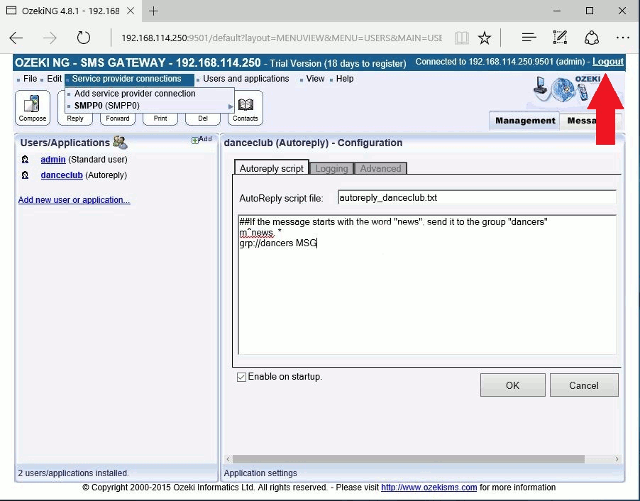
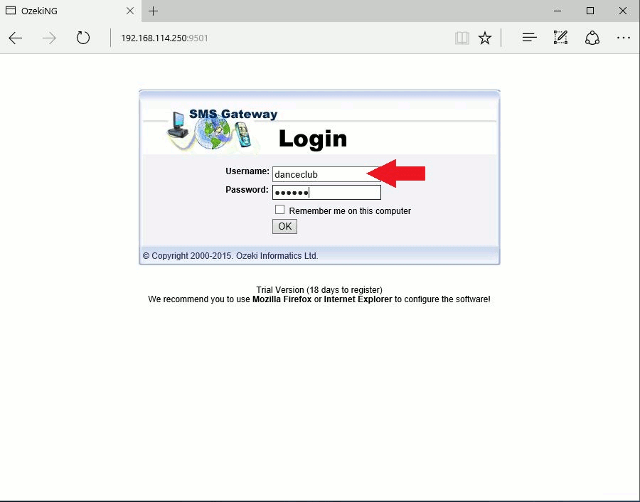
After the you have configured the autoreply user, you need to logout (Figure 11) and log back in as the autoreply user (Figure 12). To log back in (Figure 13) you can use the name of the autoreply user and the password you have specified at the Interactive login section of the autoreply user configuration form.
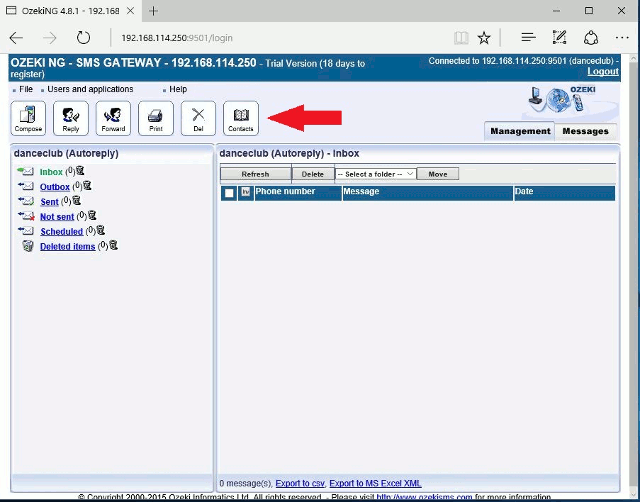
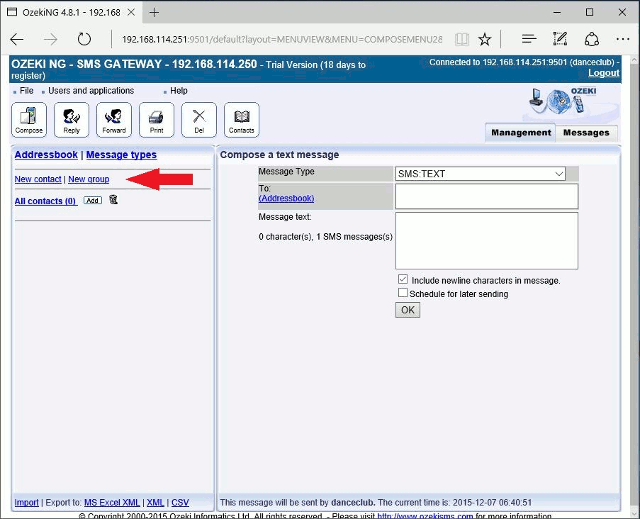
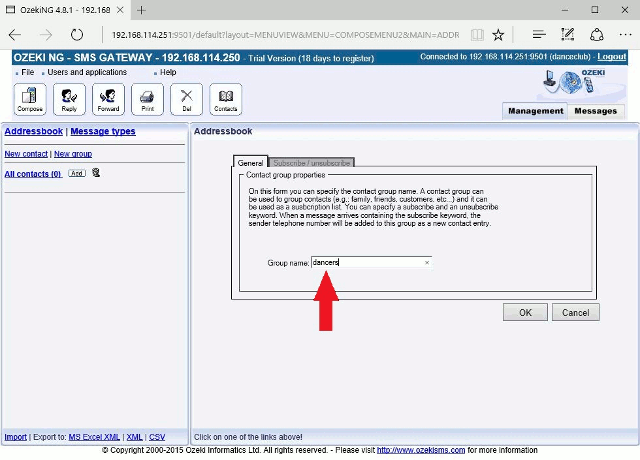
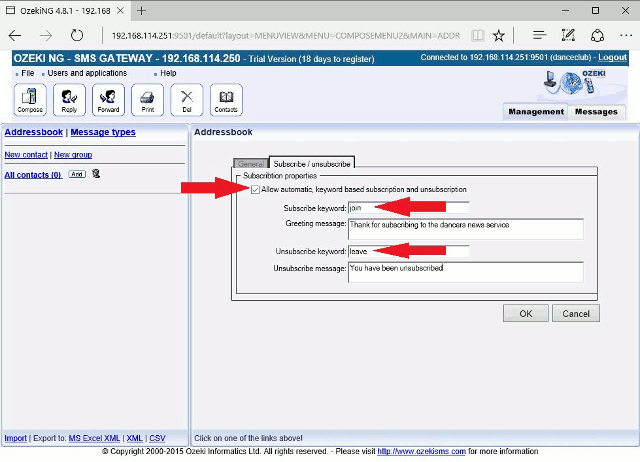
After you have logged in as "danceclub", you should open the addressbook by clicking on the "Contacts" icon (Figure 14). In the addressbook you need to create a new group (Figure 15) called "dancers". Note that the name "dancers" matches the name used in the autoreply script. When you create the new group (Figure 17), in the configuration form, open the Subscribe and Unsubscribe tab. In this tab you can specify the subscribe and unsubscribe keywords along with the greeting messages. In the example we have specified "join" as the subscribe keyword (Figure 17).
Finally you need to click OK and you need to log out from the autoreply user account. You can test the system, by sending in the SMS message "join".
